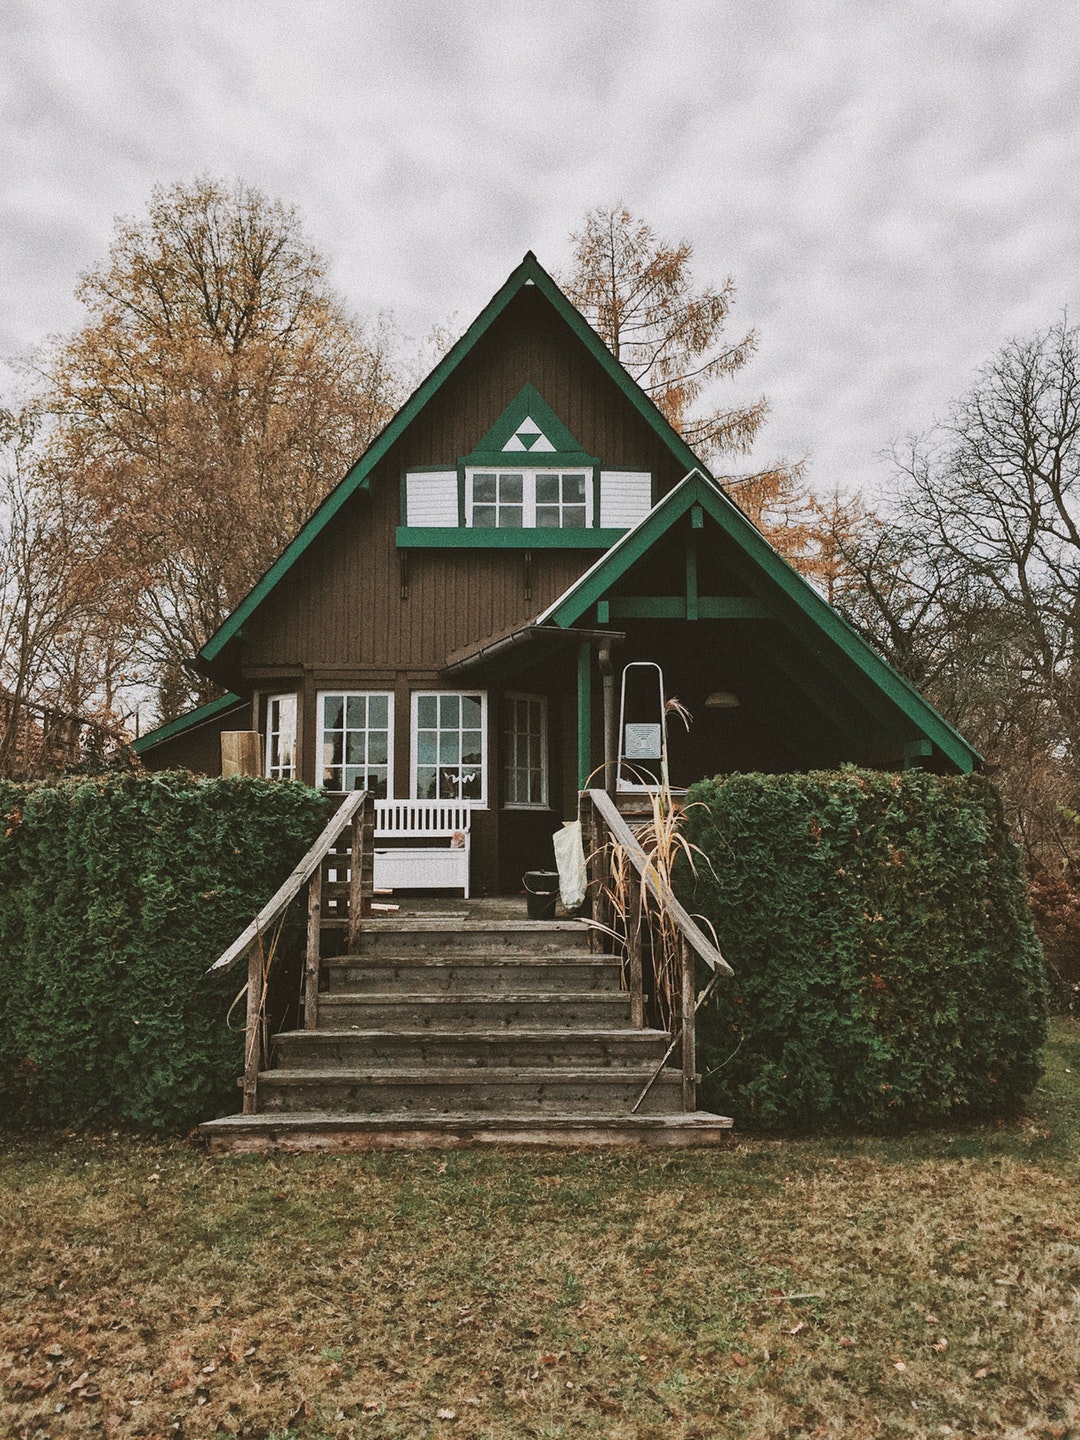
Party in the USA: 10 Tips for Your Own DIY Summer House!
Are you planning an epic summer vacation?
Today, the average American takes approximately seventeen days of vacation annually. During this time, it’s common for vacationers to opt for the “staycation” in an attempt to save money. While there’s no denying the sheer joy in fleeing on vacation, the overall costs can make it impossible for some.
But, what if vacationing didn’t have to be so expensive?
Let’s take a moment to dream of a vacation that didn’t have to involve paying for accommodations. While this thought may seem impossible at first, it’s actually more within reach than you may think.
The truth is, the best summer vacations don’t have to involve spending money on overpriced rental accommodations. This is where many have chosen to build their own DIY summer house?
Sure, this may seem complicated at first, but with a little help and some elbow grease, it’s feasible. To help, we’ve put together a simplified guide for how to build your own DIY summer house.
1. Find a Location
First and foremost, you’re going to want to start by determining a suitable location for your summer house.
Are you dreaming of constructing a home in the vast wilderness or would you prefer a small lakeside retreat? In determining this location, you’re going to want to take into account a number of considerations such as:
- Are you legally able to build in the area?
- What are the taxes associated with the area?
- Do you need to be a resident to build in the area?
- How easy is it to transport materials to the area?
- What is the topography of the area?
Once you have determined these factors, you’ll be better equipped to create a detailed plan and move forward.
2. Create a Plan
Now it’s time to create a detailed plan.
This is where you’re going to determine what type of home you’re going to build. Some people may choose to work with a professional or someone with building plan experience to create this plan.
While this next step may feel intimidating, it’s important to remind yourself that there are incredible recourses and DIY materials now available. As a recent surge in tiny homes has taken place, it’s become possible to build your own home without losing your sanity.
3. Consider Your Landscape
Before you lay your foundation, it’s vital to consider your landscape and determine any exterior goals that you may have for your summer home.
For example, many homeowners dream of having an idyllic pool to accommodate their summer home. If you find yourself nodding your head, this is where you are going to create that detailed plan.
If you’re interested in constructing a DIY pool, click to learn more here!
4. Lay the Foundation
It’s officially time to begin laying the foundation.
When you lay the foundation, you’re going to have to consider what type of material you would like the base to be. Some people will choose concrete and others will opt for a slab base.
Next, you are going to precisely flatten the area in which you plan to construct. Once you have done this, it’s time to lay the foundation. When doing so, ensure that you’re pouring the foundation until it’s perfectly even on all sides.
5. Build the Frame
Using your detailed plan, you are now going to begin to build the frame that will become your home.
Here you will use pre-cuts of wood to create the skeleton of your home. If you have never done this before, consider hiring an experienced framer or carpenter. While this isn’t necessarily a complicated process, it’s best to ensure that it’s done correctly.
For this step, it’s essential to have a detailed plan as to where all of your doors and windows will be.
6. Construct the Walls and the Roof
Now that the framing is complete, it’s time to construct your walls and the roof.
This is where you are going to determine what type of roofing you are interested in. For those on a budget, you may want to consider asphalt shingling. By far, this is the most inexpensive roofing material available.
7. Add Flooring
Now it’s time for flooring!
Before officially adding your flooring, it’s helpful to sand down all of your wood. This ensures that you are working with a smooth and even surface for flooring.
Here you can decide which type of flooring you are interested in. This can be anything from cork and wood to concrete or carpeting.
8. Position the Doors and Windows
As per your plan, you can now begin to position the doors and windows into the framing.
Again, this is often a step in which new home builders may require some assistance. Without proper installation, the home is more prone to experiencing leaks or drafts.
Once these are affixed, the construction of your summer home is officially complete!
9. Furnish
Now, here comes the fun part!
It’s officially time to decorate, paint and furnish your summer home!
For this step, it’s safe to say that there are no rules. This is where you can use your design sense to determine how you’d like to decorate your new home.
If you are considering renting your summer home, you’re going to want to take this into consideration and opt for a more generalize aesthetic. You may also invest in more inexpensive furniture that is guest-friendly.
10. Enjoy!
Finally, it’s time to kick back and enjoy your summer home.
This is when you can finally begin to appreciate all of your hard work and enjoy what you have created with your own two hands.
This is also where many people considering renting out their new summer house. Many people choose to rent their house for the months in which it’s not significantly utilized.
This is also a great way to offset the initial cost of building the house in the first place!
Building Your First DIY Summer House
Are you in the midst of planning a summer vacation?
When it comes to vacation, it’s often the accommodations that are the most expensive aspect. As a result, even a simple vacation away for a few days can feel out-of-reach to many.
What if we told you that building your own accommodations is more accessible than you thought? With a little creativity and detailed plan intact, anyone can build their own DIY summer house.
If you’re considering building a small summer house but have no idea where to start, use this guide to help provide a simplified plan. When you consider your DIY summer home step-by-step, it helps to minimize those feelings of intimidation.
Are you looking for more useful tips and tricks for daily life? If so, be sure to visit our blog!