Rolling Along: 8 Simple Garage Door Maintenance Tips for Homeowners

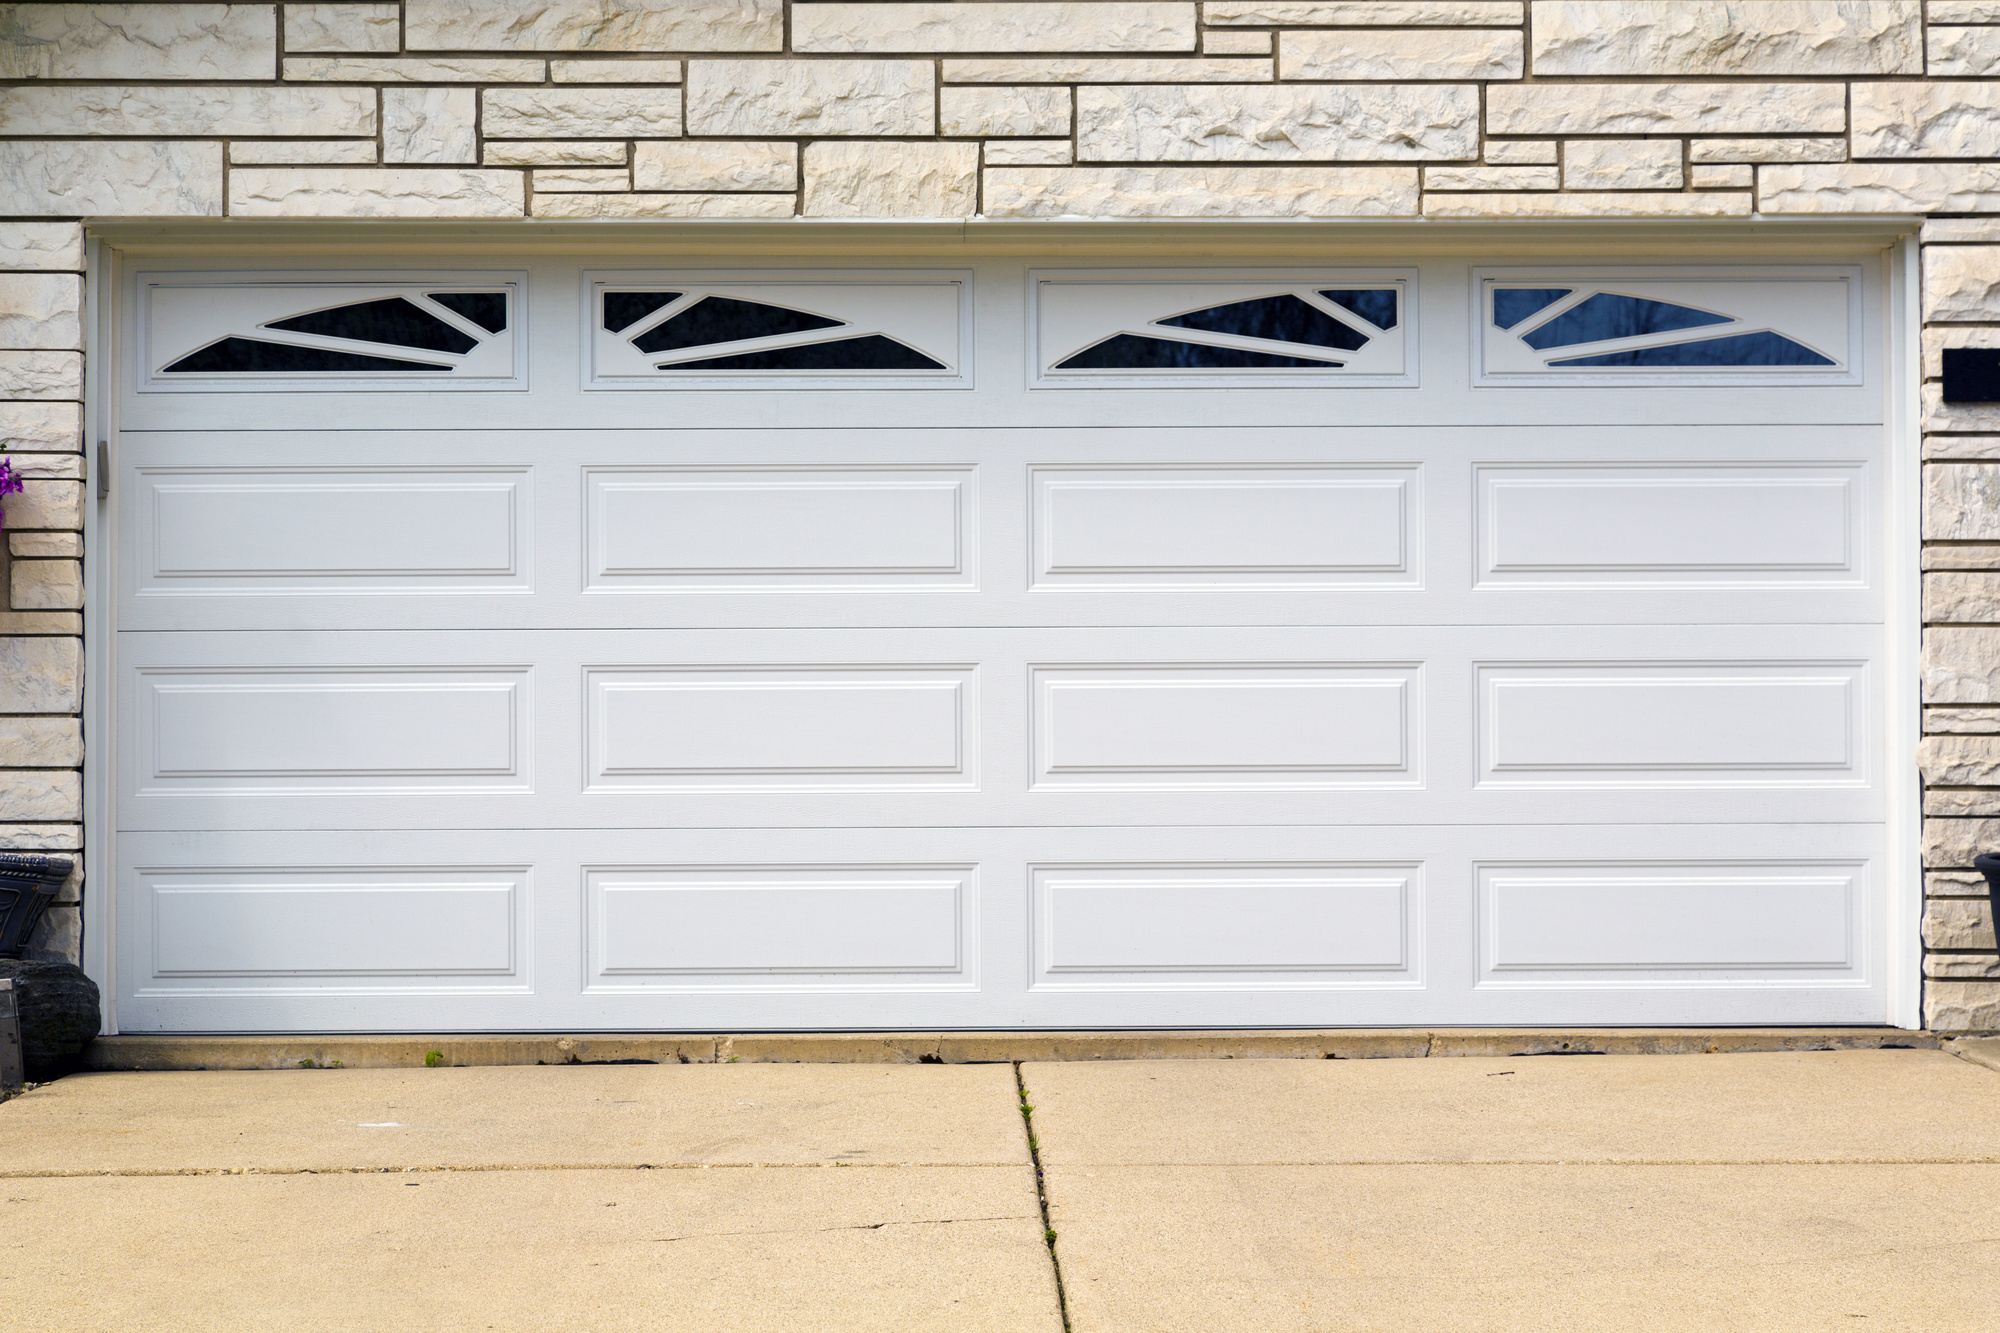
If you’re like most people, you probably take your garage door for granted. It’s the largest moving part of your home and gets a ton of use. It protects your cars and shields the garage from seasonal weather.
Garage door maintenance is vital for keeping it functioning properly, yet you don’t need to invest a ton of money in door maintenance. We are here to offer some basic tips that will help keep it operating in top form for years to come. Let’s take a took a few.
Rolling Along: 8 Simple Garage Door Maintenance Tips for Homeowners
Garage door maintenance isn’t usually on our to-do list. But a little care goes a long way. Check out these simple tips to keep your door quietly rolling along.
1. Pay Attention to What You See and What You Hear
This might sound overly simple, yet it’s probably the single most important step in knowing how to maintain a garage door. Every time the door opens and closes, pay close attention to anything that looks or sounds unusual.
Is it nice and quiet, or does it make scraping, grinding, or popping noises? Does it remain nice and straight as it goes up and down? Or does it look slightly askew? These are important details to make note of, and if something isn’t right, these are clear signs that repairs are needed.
2. Inspect the Rollers
The rollers on your door are responsible for making it travel smoothly up and down. And if each of them isn’t in good condition, the door won’t operate optimally. Even if there doesn’t seem to be a problem, you should inspect the rollers at least twice a year.
If you discover any that appear chipped, cracked or worm, replace them as soon as possible.
3. Replace Worn Weatherstripping
The weather stripping around your door helps to keep your garage protected from outside elements. But eventually, it can become brittle and cracked, or begin to peel. You can buy weather stripping by the foot at most home improvement and hardware stores. Then all you have to do is cut it to the size you need and apply along the edges of your door as necessary.
4. Keep the Moving Parts Lubricated
This step is so important and yet takes less than fifteen minutes. All you’ll need is some white lithium grease or a silicone based lubricant, and a spray lubricant. The lithium grease is for the opener’s screw or chain, and the spray lubricant is for the overhead springs.
Keep in mind to use lubricant on metal rollers only. But if your door has nylon rollers, apply oil to the bearings but not to the nylon rollers.
After you’ve lubricated everything, open and close the door several times to check your work. Keeping the moving parts lubricated will not only keep the door operating smoothly and quietly, but it will also keep those parts from wearing out or breaking prematurely.
Read more to find out if you should repair your garage door or simply replace it.
5. Test the Auto-Reverse Feature
Most modern automatic garage door openers are designed with an auto-reverse safety feature. This involves two mechanisms: photocell and mechanical.
To test the photocell, simply stick your leg out as the door closes. As the door lowers, the photocell should detect your leg and immediately reverse. If the photocell doesn’t engage as intended, wet a paper towel with window washing solution and wipe the lens.
To test the mechanical, place a brick or other object in the door’s path. When the door touches the object, it again should immediately reverse and go back up.
As your door ages, the auto-reverse feature might begin to fail. This is a clear signal that it’s time to replace your door opener.
6. Test the Garage Door Balance
When a garage door isn’t properly balanced, it won’t open smoothly and will have to work harder to open or close. This puts a strain on all the parts, including the opener motor, causing them to not last as long.
Disconnect the door opener by pulling the red emergency cord (release handle). The cord will disengage the sprocket, allowing you to manually raise the door. Raise it to about waist level and release it. Move out of the way in case it happens to fall quickly.
If it doesn’t hold there, the springs (counterweight system) aren’t properly balanced. At this point, we recommend calling a professional to make the necessary spring adjustments.
7. Tighten Up All the Hardware
As the years go by, all of the wear and tear on your door can eventually cause the hardware to become loose. You’ll want to take a few minutes several times a year to make sure everything is tight.
Be sure to check the rollers, roller brackets, the track system, and the door opener chain. Also inspect all the bolts to make sure everything is nice and snug. If anything seems loose, you can tighten most parts on your own. But if you are unsure that your door is safe, don’t hesitate to call a professional to have it properly serviced.
8. Clean the Door Tracks
This step is simple enough. The best thing to use to clean your tracks is brake cleaner. Use a towel, and wet one side with the brake cleaner. Clean the door tracks with the towel, then finish by drying the tracks with a clean towel to remove excess lubricant.
Extending the Life of Your Garage Door
Learning how to maintain a garage door isn’t rocket science, yet it’s vital in keeping your door operating properly for as long as possible.
Garage door maintenance mostly comes down to paying attention and not ignoring signs that something doesn’t look or sound quite right. We recommend reading your owner’s manual for more maintenance tips tailored specifically to your door.
Your garage door keeps you warm in the winter, keeps the rain out, and does it all with little or no thanks. Take the time to keep it running in top form and it will serve you dutifully for years to come.
Click here to see 6 renovation projects that’ll boost the value of your home.


